Sunday, June 3, 2012

Ring Display

I tend to be a 'do-it-yourself' kind of person. 
I always made the Halloween costumes when my kids were younger....none of that store bought stuff here!
When I was in college, working in the experimental fields for the Vegetable Crops Department, I learned how to can homemade preserves.
And when it comes to my jewelry displays, I like to make them so that they are distinctly unique.
A few months ago I made a series of 'Lunar' rings, but struggled with displaying them in an effective way.
I wasn't interested in purchasing the velvet cone displays that are offered in most wholesale jewelry catalogs, and had ideas of making my own display cones out of sheet metal.
Before I undertook that project, I saw a fabricated display offered by one of the vendors at Philadelphia Bead Fest that caught my eye.
I begrudgingly admitted to myself that I actually like this fabricated display, even though it wasn't perfect for my needs.
When I saw that it was priced at $20.00, I decided that I could make modifications so that it would become perfect.
When purchased, there was no backdrop behind the display cones.
I considered this a problem since background information would compete for attention when all focus should be on the rings.
I pulled out the white burlap that I've used for other displays and stapled some to the back.  Since I could still see through the burlap, I added a layer of polyester batting followed by another layer of burlap.
Now the focus is where I want it to be.
One of the things that I tell students in my workshops is to carefully consider what the back of their pieces look like.
I take my own advice when it comes to my displays, and I learned this the hard way.
Years ago, I was in a holiday show at a local art center and expected my location to be along one of the walls. 
I was instead located on a large table in the middle of a gallery space.  Although another display was behind mine, the backs of my display pieces were clearly visible as people moved through the gallery and it was not a pretty sight.
I felt somewhat mortified that I had not planned for that possibility and have since made sure that the backside view is clean and presentable.
The backside view of my new ring display is a bit lumpy at the edges because of the tension from the staples, but I've decided that I can live with that slight lumpiness.
The staples were covered with vintage velvet trim that I happened on hand which happened to be a perfect color complement to the wood of the display.

Wednesday, May 23, 2012

Bookmarks, continued

And a few days later.....I have some of the upcycled bookmarks completed.
New life for an old platter.

Wednesday, May 16, 2012

Upcycled Bookmarks in the Making

Part of last night was spent preparing a new batch of bookmarks for the Swarthmore College Bookstore.  
Concern for social and environmental issues is refreshingly present on campus, evident by the abundance of clubs and activities that focus on making contributions to the community.
These activities include Think Climate, a campus radio program/club founded by my son and one of his upperclassman friends.
The Bookstore Manager and I agreed that some of the students might appreciate the fact that many of my pieces feature materials that are recycled/upcycled.  My previous bookmarks were made with sheet metal that I textured with various hammers and stamps.  This new batch is made with metal from some of my thrift store platters. 
The platters that I search for during my thrift store hunts are those that have lovely etched patterns or interesting embossed/pierced borders.  When I'm lucky, I find both in one platter as I did with the one above.
Segments of the rim were cut with my jeweler's saw in order to access the flat, etched area where I had outlined the bookmark shapes. 
All corners and edges need to be filed and sanded.
As with the previous bookmarks, I'm going to stamp quotes on small pieces of brass which will then be riveted in place transforming the above into great graduation gifts.....hopefully.
And I already have new project plans for these rim sections.

Monday, May 7, 2012

Soldered Pendant

While organizing my metals recently, I rediscovered some textured pieces that had been ignored for too long. 
A piece of brass that had been etched was paired with a piece of copper that I had milled with a loosely woven fabric.  Both pieces were filed and sanded before being soldered together. 
I liked the simplicity of the metals and dismissed the idea of drilling into the copper to provide for connecting to a chain.
I instead chose to cut a segment of brass tubing for my bail.
Both ends were filed and sanded before soldering the tube to the back of the copper.
I had also filed the length of the tube to create a flat plane, ensuring that the tube would sit nicely in place while I did my soldering.
Aaaaackkk!  
Wouldn't you know.....things somehow went a little wonky while the solder flowed, and the left side of the tube shifted ever so slightly downward. 
I haven't put this on its chain yet to determine if it sits crooked, but I may have to heat this again to nudge the bail into proper placement.
And so yet again, soldering reminds me that I am rarely in control.

Saturday, April 21, 2012

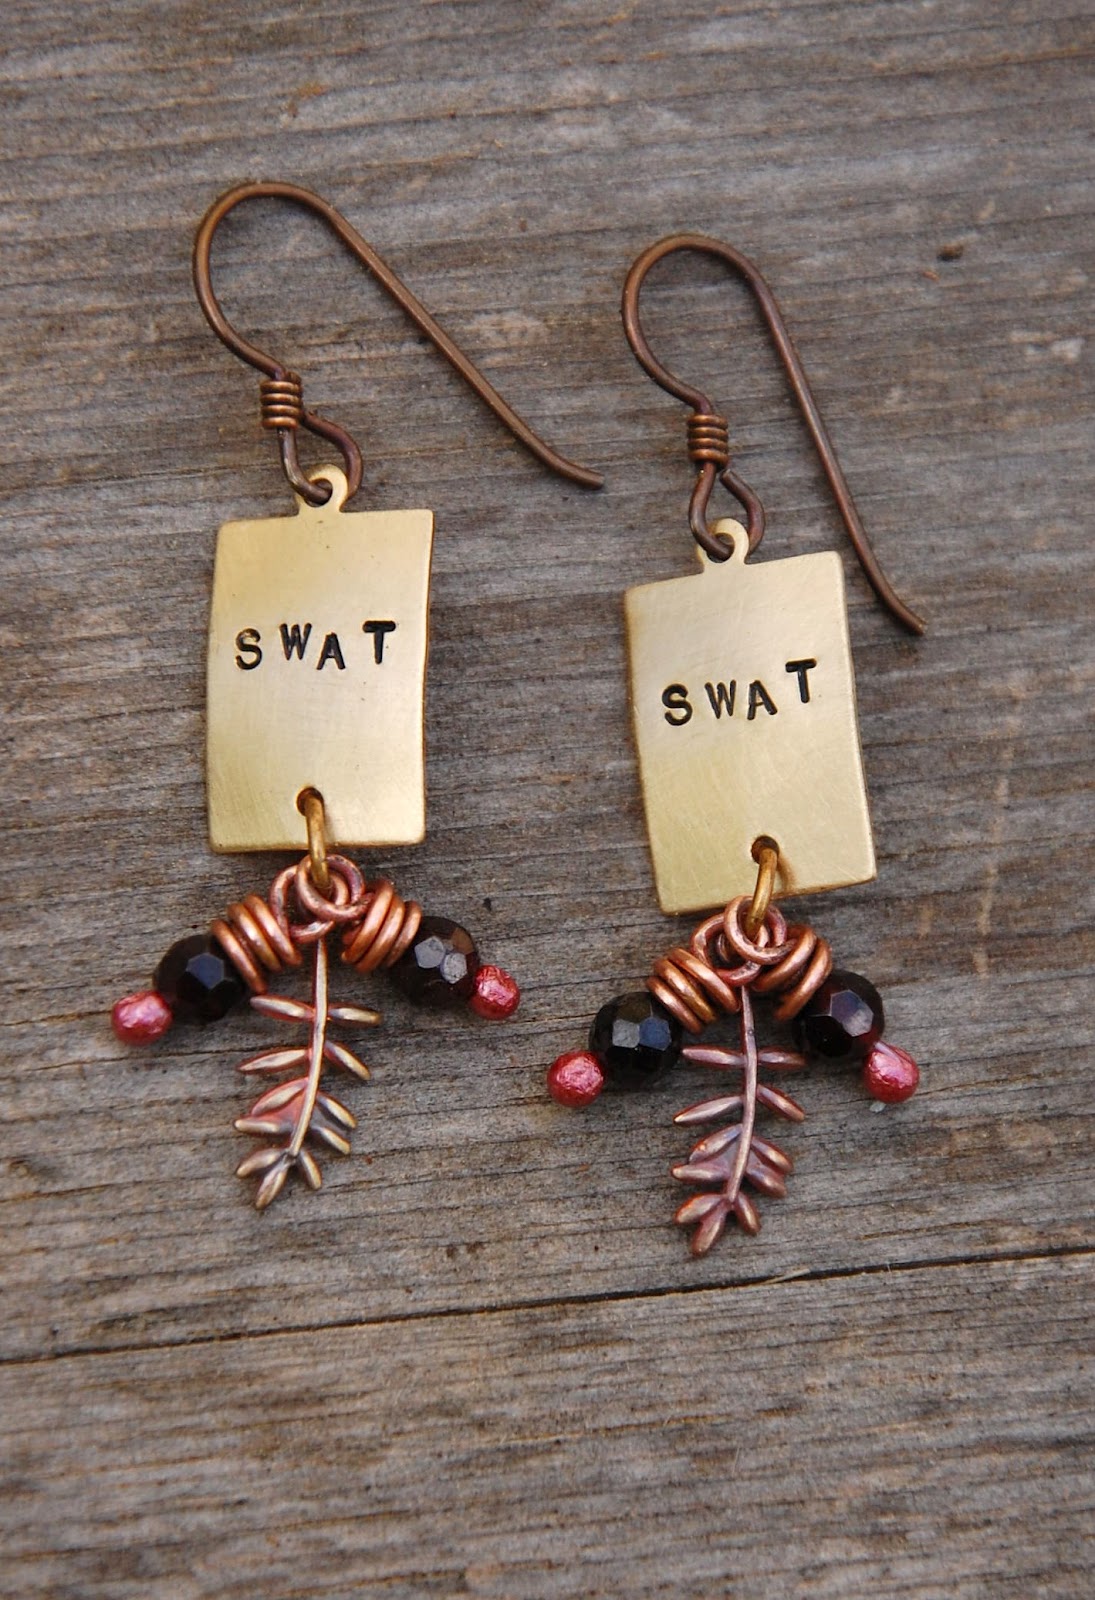
SWAT Earrings

This afternoon, I worked on making these little dangles of faceted garnet beads wire wrapped with balled copper wire.  I love how the beads look like luscious pomegranate seeds, and I love that garnet is the official color of my son's college.
These dangles are going to be used for some jewelry that I'm making for the campus bookstore.
The students refer to themselves as Swatties and will affectionately call the college Swat.  I thought it made sense to combine the garnets and the Swat nickname in a pair of earrings.
If the earrings don't sell on campus, I guess I'm going to have to find a police elite tactical unit with jewelry deprived women. 

Thursday, April 19, 2012

Vintage Tin

During my thrift store searches, I am always keeping an eye out for interesting, vintage tins. One great find several years ago inspired my 'Ghosts of My Past' necklace.
I recently bought this tin, loving the patterns, muted colors and even the scratches.
Using my metal shears hand tool, I cut out a section.
Not wanting to damage the colored surface, I gently tapped the cut section with a plastic mallet to flatten it before cutting a variety of discs.
The edges of the discs were sanded with a foam sanding block, creating a nice, smooth finish, again taking care to minimize any damage to the colored surface.
I thought that the discs would be perfect for earrings, but wanted to pair them with another metal for an interesting contrast as well as for more substance.
I cut some silver nickel discs at a slightly larger size and textured one side with different steel stamps.
Instead of just drilling at the top and bottom to allow for connections, I soldered on copper jump rings which were them hammered flat.
I originally planned to connect the tin discs to the textured side of my soldered bases, but thought it would be a shame to cover up most of the stamped textures, so ...change of plan.
Connecting on the other side meant that I had to deal with the the dimension of the soldered jump rings.
No problem.
I domed the tin discs, but domed them very carefully.
Not wanting to damage the surface, I used my wooden dapping block and created only a slight curve.
The slight dapping not only let me clear the jump rings, it also added enough dimension to make the earrings slightly more interesting once the pieces were riveted together.
Honey jade beads wrapped with balled copper wire hang at the bottom.
Bonus....the textured surface on the back is nicely visible as the wearer walks away from someone.

Friday, April 13, 2012

Soldering In My Future

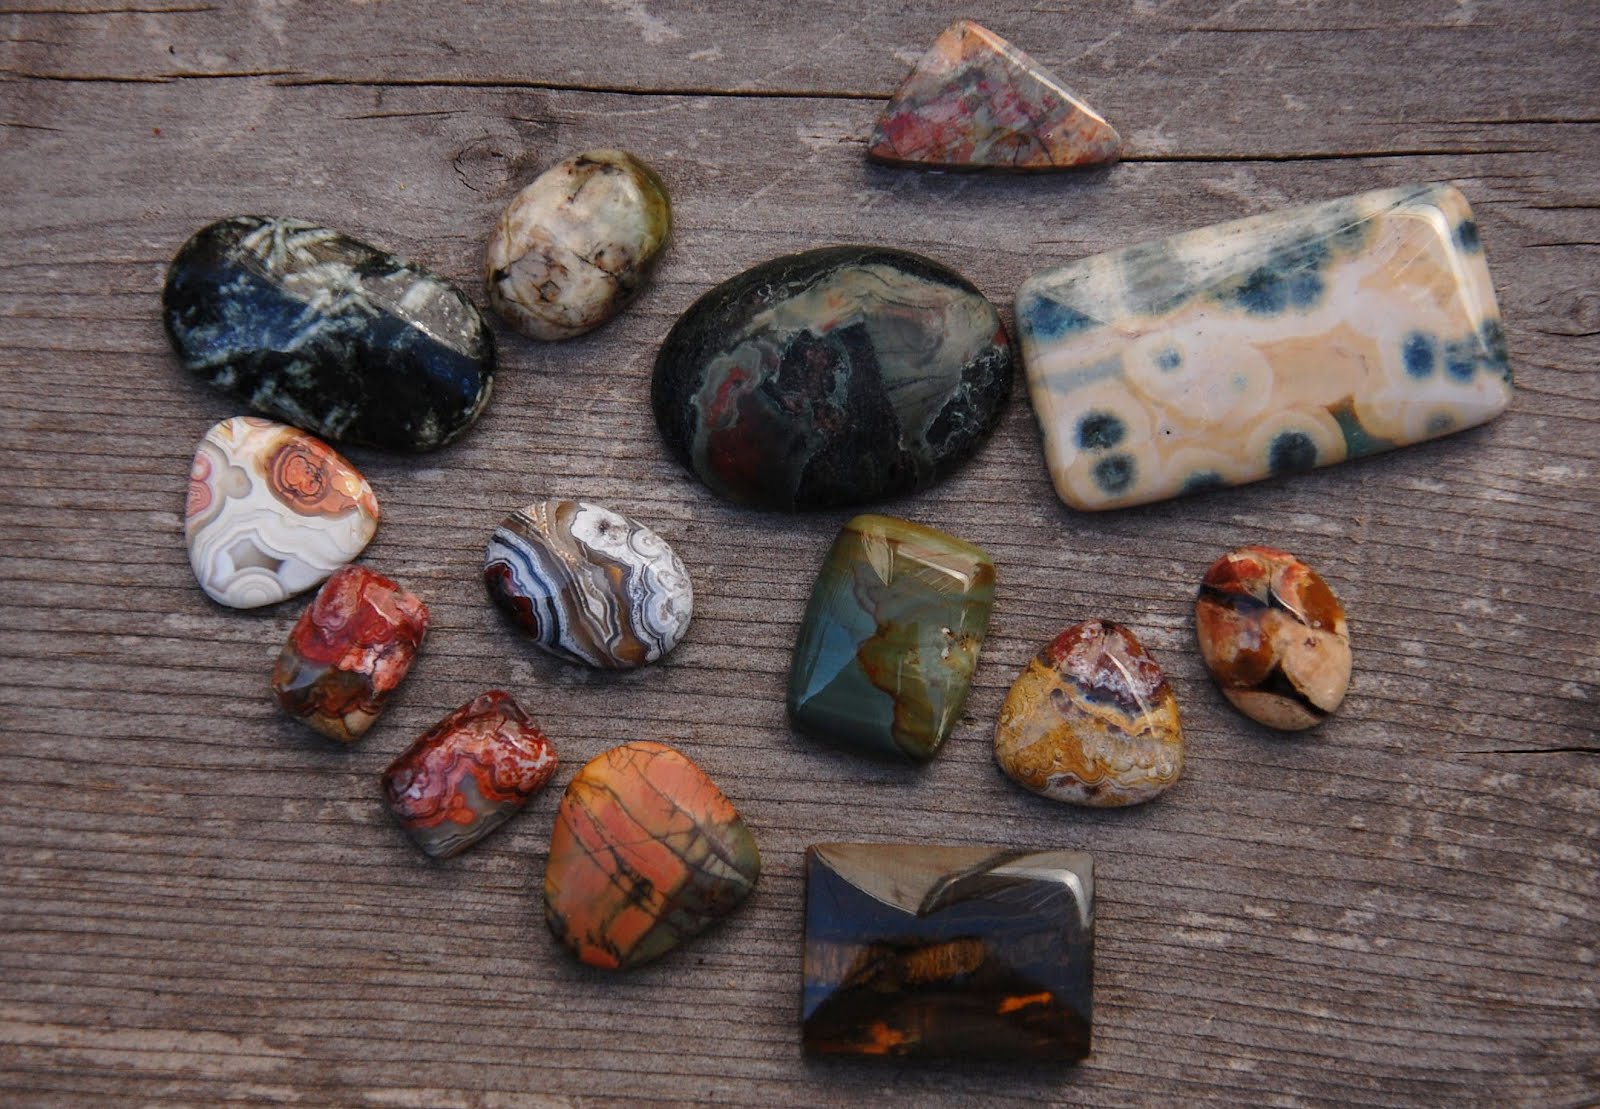
My brand new stash of cabochons from S & S Lapidary:
Here's hoping that these beauties will inspire me to improve my soldering skills.