Tuesday, April 26, 2016

Popular Necklace

I received a message from the Manager of one of the shops that carries my jewelry.
The labradorite necklace that I had delivered last month caught the attention of numerous customers.
One of those customers left the shop, 
regretted not buying the necklace and returned a few days later only to find that someone else also found it irresistible and went ahead and made the purchase.
Yay necklace!
The disappointed customer wanted to know if there was another one available.
Lucky for her...
the initial necklace was made with one of the 5 labradorite cabochons that I had purchased at one of last year's bead shows.
As is typical,
I must ponder ad nauseam over special materials before comitting them to a project
and still had 4 labradorite cabochons on my workbench.
I said that I would definitely make another necklace and that it would be similar to, but not a copy of the original piece.

Work began and I was thankful to have my new tripod as I soldered the bezel on to an etched base.
The soldering went beautifully...
the solder flowed, making full contact between the two pieces.
Then came time to set the stone.
I made my own bezel wire out of copper that had been textured with one of my steel stamps.
It was perfectly sized...
all right, maybe it could have been a tiny bit larger.
The bezel had been annealed, but it quickly work-hardened as I persuaded it into shape with my bezel roller.
I soon found myself with a couple of bezel bumps that I could not smooth out....
not acceptable.
It was time to admit defeat and remove the stone so that I could start over.
Easier said than done!
Removing a stone from a super snug setting required careful finess.
Actually,
it was more like copper carnage.
I basically shredded the bezel and was able to remove the labradorite while keeping it unblemished.

For my second attempt,
I ran the copper through my rolling mill to achieve a thinner gauge...
which would be easier to manipulate with the bezel roller.
The mill warped the strip of copper...
but I was able to use my metal guillotine to cut parallel edges.

The bezel was shaped again
and successfully soldered onto the base...
and this time,
was properly persuaded to hug the labradorite in its new resting place.
Whew!
Now I can work on assembling the necklace.

And now for something completly different...
my two favorite pliers decided to break their springs within days of each other.
What the heck?!
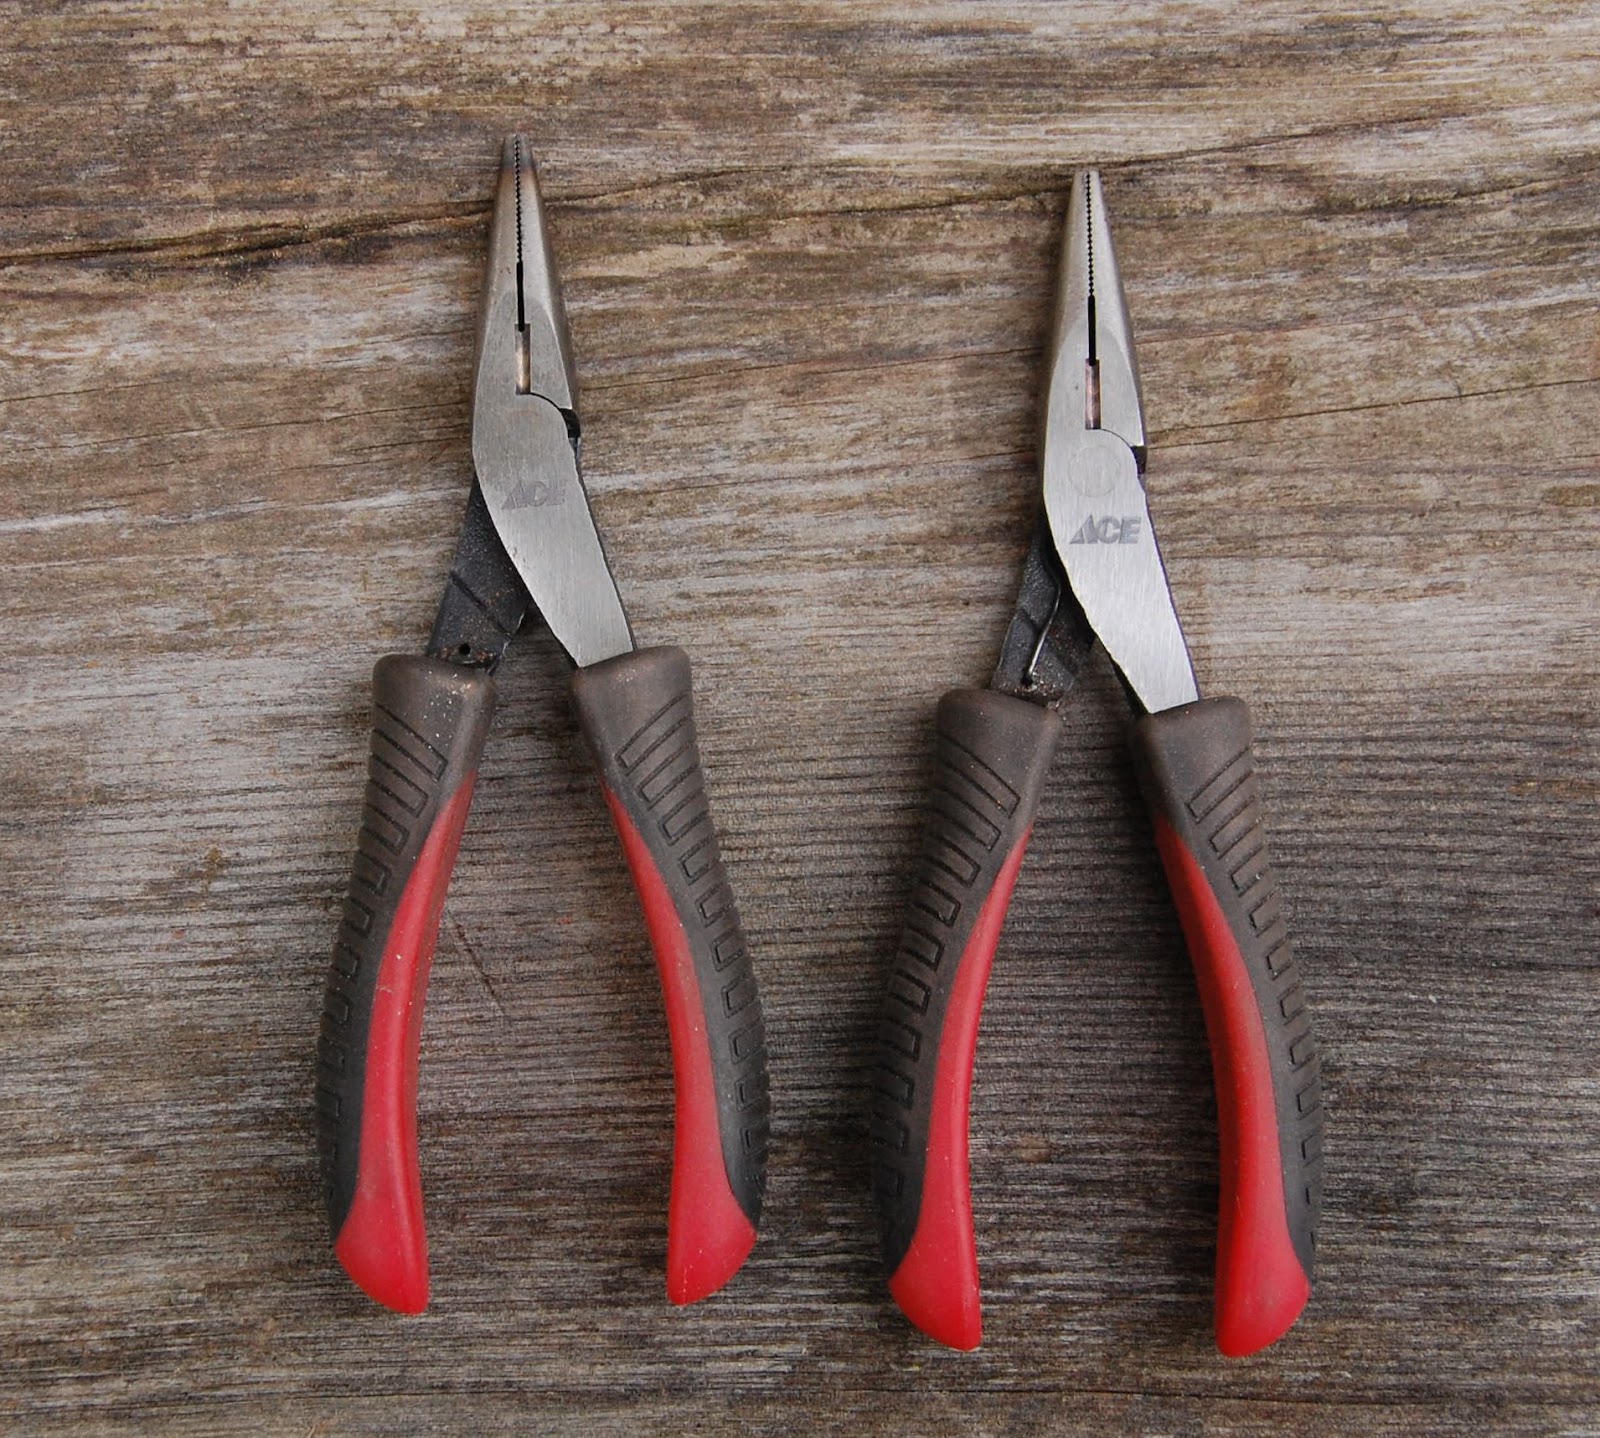
I have nice (code for expensive) jeweler's pliers that I use for particular tasks,
but these Ace Hardware pliers are my go-to tools 
that I prefer when I need to do some serious metal manipulation.
I love the design...
they feel perfect in my hands
but not so perfect when the spring is broken.
Fisher's Ace Hardware was awesome...
they replaced the newer set of now-springless pliers for free.
I bought a second set and I'm now back in business with a couple of my favorite pliers to help me make this new labradorite necklace.

Sunday, April 17, 2016

Clementine Necklace

BeadFest was in town last week, and I went to purchase materials...
some that I needed 
and some that I just wanted.

I recently came to realize that I really did need a 
soldering tripod...
to help me avoid some of my workbench disasters.
The tripod will let me focus an acetylene flame on the bottom of a piece of metal to which I'm soldering a more fragile bezel.
In theory, the solder will be drawn downward, toward the heat and I won't melt my bezel,
as I have been known to do.
A new tripod is at my soldering statio,
waiting to be tested.

I move through BeadFest very quickly to avoid expensive temptation.
I have an abundance of supplies at my workbench,
so I don't really need more beads, stones or cabochons.

But....
something caught my eye as I passed one of the vendors who had multiple table tops covered with thousands of beads.
One strand of large, orange ceramic beads made me stop.
At 1 1/4" diameter, these beads reminded me of luscious, juicy clementines.
Yup...
they had to come home with me.

Fresh off my workbench...
my first clementine project
featuring handmade, etched beadcaps,
clasp and links made from recycled copper wire,
and wire wrapped citrine, flourite and vintage glass beads.

Monday, April 11, 2016

In Bloom

While I love that I chose a few years ago to explore painting as one of my creative outlets, the process of getting from an idea to a finished product is often a real struggle for me.

This particular struggle began a few months ago when I bought flowers for my dining room table and did the typical photo documenting for my file "Things I Might Want to Paint Someday".
It's not the best photo...taken in my kitchen with late afternoon sun coming in through the window and some haphazard white poster boards propped up for background and light reflection....
but, I kind of liked the balance of the composition.
This might have stayed in my file for months, maybe years if not for the prospectus that one of the local art centers distributed for an upcoming show titled
'In Bloom'.
Since I made the resolution that 2016 would be My Year,
I'm entering everything that I can to increase visibility of my paintings and jewelry.
I thought,
"Oh yeah...I'm definitely painting that somewhat OK photo of those dining room flowers."

As part of my ongoing commitment to austerity,
I recently bought a painting at one of the local thrift stores.
The painting was pretty dreadful, but the canvas was quite lovely.
I liked the somewhat unusual 18" x 18" size
and the perfect price of $3.00.
I started to block out my flowers directly on top of  the previous painting, appreciating the fact that some of the previous brush strokes would become part of my work.

With the general mass laid out,
I began to give more definition to shapes and colors.

The color palette was developed further as I considered shadows and depth.
At this point I asked for some advice and got a blistering critique.
Ouch!
Those inner voices that constantly tell me,
"You suck at this!"
felt smugly validated,
but I knew that I could learn from my areas of weakness.

Brights and darks were developed...
the jar grew to be more believable,
but what was I thinking with that purple blend in the background?

The unfortunate purple was toned down...
highlights were added to the foliage and to the jar.

Calling it done 
just in time to be delivered to Wayne Art Center later this week.

Sunday, April 3, 2016

Bracelet Redo Part Two

I had an amusing Part Two to 
that I wrote about last year.

I had made two bracelets at the same time, 
using parts of a photo that was included in a flea market find...
a treasure trove of vintage black & white photographs.

The photo in question looked like it could have been from the Dustbowl Era of the 1930's
with a small group of people gathered at the stoop of a dilapidated house.
I was drawn to the image because of the somber suggestion of perseverence.

One shop had a bracelet with the image a man who I thought of as a hybrid of James Dean and Tom Joad.
After too many people commented on how creepy they found the image,
I was asked to do a redesign....
which I did.

When I made last week's delivery to another shop,
a favor was asked.
I had forgotten that this second shop had the second bracelet, featuring the female from the photo who I think of as
Grim Grandma.
Well....
the bracelet was still there because their customers also found the image to be a bit creepy. 
Just like before, I was asked if I could swap out the resin-set image for a bezel-set stone.
I like to keep the shops happy, so I said,
"No problem."
The bracelet came home with me,
but when I brought it to my workbench,
I realized that I didn't really want to make the change.
There's a genuine kinship I feel with this woman.
Her image suggests to me that no matter what hardship life presents,
it can be faced
and life will continue.

I contacted the shop and asked if we could do an even swap with another bracelet.
They agreed. 
An alternative was sent out 
and 
Grim Grandma is now part of my permanent, personal collection.


Sunday, March 20, 2016

Easily Distracted by Lovely Textures

Spring cleaning of my garden can sometimes take way too long.
I have a recurring problem of allowing myself to be easily distracted by the textures of dead vegetation.
Dried seed pods, ornamental grasses and leaves often make me pause to think,
"Hmmmm...wonder what this would look like if I roll printed it?"
Once that thought is there, it can nag at me until I actually test out the texture with my rolling mill.

I lucked out when I bought my rolling mill years ago at a nearby Harbor Freight.
This is not my dream rolling mill, but finding it on sale for less than $100,
I decided I could live with less than my dream.

Some dried leaves appeared to be good candidates for the mill.
Each leaf was sandwiched between 2 pieces of annealed copper.
The resulting texture was definitely worth the effort even thought the brittle leaves cracked under pressure, resulting in a disjointed imprint.
I then had to figure out how these pieces of copper leaf texture could best be used.
Brief consideration was given to cutting out discs for earrings and links,
but I decided that would not be an effective way of communicating the story of my garden's leaves.

I chose to cut out the leaves with metal shears.
After filing and sanding the edges, I tried forming one by using a couple of my swage blocks.
Once I was satisfied with the shape, I treated my prototype with liver of sulfur.
This was definitely a much more interesting project direction than my initial thought of cutting discs.

The other leaves were shaped in steps
with different profiles in the swage blocks.

The plan was to use the leaves as pendants,
so I had to consider how the connection to a chain would be made.
Again, I had an initial reaction, thinking that a wire wrapping link could do the job nicely.
My smarter, inner designer wouldn't let me go down that wire wrapped path.
I think these formed leaves have a beautiful simplicity that would be compromised by the heaviness of too much wire at the top.
The solution was to shape and cut large sterling wire jump rings that I soldered closed after threading them through holes that were drilled at the top of each leaf.

The liver of sulfur treatment was done in repeated baths,
allowing the patina to build up.
Once I was satisfied with the color, 
multiple layers of microcrystalline wax were applied and buffed with a soft cotton cloth,
creating a lustrous finish.

Now I'm ready to turn these metal leaves into necklaces
and ready to get back to cleaning out my garden.

Tuesday, March 8, 2016

Be Wary of Praise from Strangers

I am a tiny, modest business operation. 
Cynthia Murray Design consists of me,
working away in my basement studio/workbench and at my easel. 
I am told that I have cultivated a small following at some of the local shops that carry my work. 
My blog, Flickr and Pinterest sites have groups of regulars who presumably find something of interest in what I create and write.

I am very aware that mine is a singular, quiet voice in a cacophonous sea of online entities, 
all trying to put forth some kind of message. 
That is why I’m always a bit surprised when someone pauses to hear my message and even more surprised when one of those who pause actually reaches out and contacts me.

A few months ago, I received an email from the Director of Marketing of a company that designs and creates a popular line of products, telling me that she had come across my blog while researching fellow artists. 
She found my work “absolutely beautiful” and could tell that I was “passionate about my art”.
 Because it was Artist Appreciation Month 
(?...yeah, I also wasn’t aware that this was yet another one of those 30 days of alleged ‘appreciation’), 
their company wanted to 
“learn a bit more about me as an artist”.

I readily admit to initially feeling flattered by being contacted by a successful company, 
but life experiences have inspired in me a healthy level of suspicion. 
I wrote back, asking for more information. 
The response explained that they wanted to “celebrate my work and learn what fuels my passion” by having me write a blog post, answering a series of questions that they developed. 
I was to post this on my blog.

Wait a minute….
I didn’t understand how posting something on my own blog was going to be a benefit to me. 
I already tell my own story,
in my own words. 
I had a brief, naive thought that my work might be mentioned on the site of this successful company whose Director of Marketing was only pretending to be interested in my “lovely blog”. 
As I read further, I realized that they wanted me to include a link to their web site in my blog posting with no reciprocating acknowledgment.
How convenient that they provided the link to the page that highlighted their new products.

I decided to research and immediately found many blog postings composed by artists and craftspeople who undoubtedly received the same email that I had received, 
enticing them to take part in this ‘Artist Appreciation’ campaign. 
Many of the postings communicated the excitement felt by being contacted by such a successful company. 
All of the postings included the link to the new product line.

After another minute of sleuthing, I found out that this company had made the decision to discontinue their business relationships that they long held with national retailers. 
All future sales were going to be online through their own site. 
What a surprise…
this transition coincided with their alleged interest in me and likely hundreds of other independent designers. 
We were going to be their free marketing tool.

 I could have just let it go, but I don’t appreciate being played. 
I wrote back, 
“Thanks for clarifying.
You want to use my humble blog to promote your successful company….
no thanks”. 

I will always listen to my inner, suspicious voice.

Wednesday, March 2, 2016

Getting Centered

I love tools.
There have been times when I've made flimsy justifications, 
giving myself permission to spend money on a new workbench tool.
I didn't even pretend to hesitate when I saw this nifty tool at a recent bead show.
This wonderful piece of plastic that cost around $8.50 is a center locator.
I can hold any size disc within the V-shaped guides and mark a centerline which is quite useful when I want to cut out inner discs and drill holes for earwires and/or dangles.
I used to operate just fine without my new, super tool,
and would locate my cutouts and drill holes by eye.
Sometimes 'by eye' failed, and I would end up a tad off-balance...
probably something that only I would notice but that would be enough to make me toss the tad off-balance piece into the scrap box.
No toss outs in the batch of discs that I'm working on right now!

A central guide line helped me position the etched brass pieces in my disc cutter.
I used the guide line again to mark the drill hole location with a center punch.
The circles were then set on a solderite board and heat treated with my propane torch.
The small discs that were cut out were added to my container of interesting metal bits,
ready for use in a future project.

Some doming, some sanding and some wire wrapping of amethyst and labradorite...
and new earrings are ready to be delivered later this week.