Friday, August 30, 2013

I Love Tools!

One reason that I love making jewelry is the fact that I can easily justify the purchase of tools.
I love tools...all kinds of tools.
I'm the type who enjoys wandering the aisles of local hardware stores, admiring the power tools, hand tools and other products.
So when Beadfest came to town last weekend, I thought, 'Ooooh...time for tools!'
I have been wanting a set of wooden punched/dapping block for a long time....done!
Same for an oval shaped, stepped bracelet mandrel....done!
Shaping my fold formed cuffs on a circular mandrel was not ideal which led to multiple smashings of my left thumb and forefinger.
Ouch!
I had not planned on purchasing this hammer by Fretz, but it is such a beauty that I could not resist.
Also, if I ordered by catalog, it was going to cost me an additional $25.00.
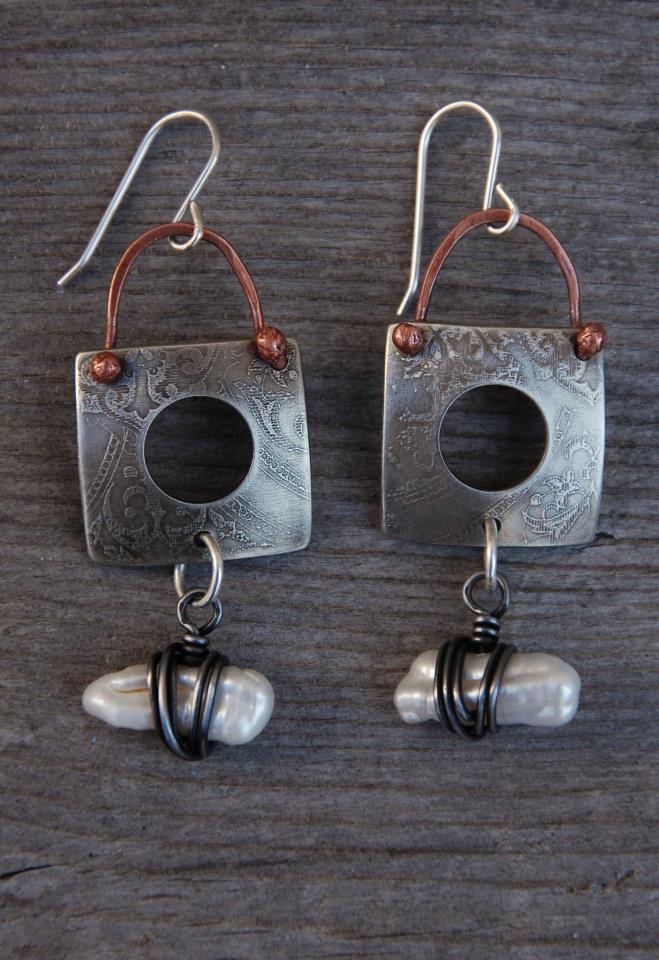
And on my workbench, progress is being made in preparation for upcoming shows.
The leaf pendant that I made last year has finally been put to use.
With many of my pieces, I like including something special on the back. 
Something that will hopefully be meaningful to the eventual owner.
The front is a roll printed copper leaf that I riveted to the brass base using balled, recycled copper wire.
A liver of sulfur bath and gentle cleaning afterwards helped to highlight the textural details.
The completed necklace includes sterling chain and wire, green agate, howlite, citrine, smoky quartz, garnet, handmade brass and copper rings and handmade beadcaps.

Monday, July 29, 2013

Fold Forming Transformation

I love taking a sheet of 20 gauge brass...
cutting it into pieces...
filing, sanding and annealing those pieces
and making...
this...
and this...
and this.

Tuesday, July 23, 2013

The Cicada Invasion

If you live in the northeast, you undoubtedly heard news reports earlier this year regarding the impending cicada invasion.
With 2013 being a banner year in the 17-year life cycle of these wonderfully noisy bugs, swarms of cicadas were predicted.
I remember one cicada season of my childhood in northern New Jersey.
Driving with my 5 siblings and parents in the family Volkswagen bus on the Garden State Parkway, the sound of the cicadas was all we could hear.
Even the noise of the highway traffic couldn't compete.
I was both curiously amazed and somewhat creeped out by the spectacle.
 
I was looking forward to this year's invasion because I had a plan...
a jewelry plan.
I was going to collect the hordes of cicadas and do something with those beautiful wings.
This was the 'hordes of cicadas' that descended on my property.
That's right...one, lonely, singular cicada that I found as it lay belly-up on my back yard patio.
How disappointing.
 
So...I had the wings of one cicada to implement my jewelry plan.
The wings were carefully removed.
I had no idea until I began my dissection that cicadas have two sets of wings- the large ones that you can clearly see in the photo, and a smaller set below.
I sandwiched one large wing between two pieces of annealed copper and passed the cicada wing sandwich through my rolling mill.
The wings appear delicate but this one withstood the pressure of the rolling mill surprisingly well.
A light imprint of the wing was left of each piece of copper.
Using metal shears, I cut out the wings and then treated them with liver of sulfur, hoping to better highlight the patterning.
 The copper wings were riveted with sterling wire to bases of sterling silver and etched brass, drilled and wire wrapped to become pendants.
I initially thought I would only be able to make eight pieces using the four wings of my lonely cicada.
Lucky me...my sister's friend paid her neighbor's little son to collect cicadas from their yard and pluck off the wings for me.
Yes!!!


Wednesday, July 17, 2013

Thrift Store Find Meets Ceramic Find

The only thing better than a great thrift store find is a great thrift store find that  costs a whopping
75 cents.
Really....how often can you expect to find something wonderful for less than a dollar?
I had that rare, lucky day recently when I found this small, textured brass tray at a local thrift store.
The carnage began almost immediately.
Using metal shears, I cut out sections that could then fit into my disc cutter.
Yes, I saved those dimpled pieces of rim....who knows when they might come in handy.
Once some discs were cut, I sanded all surfaces.
Some were drilled with top/bottom holes to later become links or earring components.
Others were center drilled to become bead caps.
When using large beads, I often like to use caps to help the beads 'sit' securely, both functionally and visually.
The caps also present an opportunity to introduce additional texture to a piece.
 
Bead caps from my thrift store tray were used in a newly completed necklace that features another great find....
this beautiful raku pendant by local ceramic artist, Joy Kerschner.
I purchased this pendant at the Wayne Art Center Annual Ceramics Sale.
The colors and textures of the raku pendant spoke to me (loudly spoke to me), and I knew that I wanted to make an equally colorful and textured necklace to properly complement Joy's inspired work.
The necklace that I made includes the recycled glass beads and bead caps, carnelian, amazonite, discs from a silver plated thrift store platter and a handmade clasp.
 
I am lucky to be living in an area that has a very active arts community.
With three art centers and many galleries near my home, I have the opportunity to take part in classes, workshops, exhibits and festivals.
I also have the opportunity to meet a nice variety of people who share a similar passion for creating a life filled with artistic expression.
 
Joy and I plan to meet soon to talk about the possibility of future collaborative efforts.
I am so looking forward to this meeting!

Sunday, June 23, 2013

Etched Bracelet

I love etching metal but often find it difficult to actually use the pieces of etched loveliness.
If I use it, it will be gone.
I know...it makes no sense.
I finally decided to do something with part of that lovely stockpile.
Bracelets.....
With my metal guillotine, I cut segments of different metals etched with different patterns, making what felt like my own strange form of currency.
I purposely varied the lengths and widths by a smidge because I'm not one to go for everything perfectly matched and logically coordinated.  
That's just a bit too predictable for my liking.
My collection of etched segments were filed and sanded on all edges and corners.
Using a previously made bezel feature with a resin set image from an old Biology textbook as my pattern, I marked the drill hole locations which were drilled with my flex shaft and then cleaned up with a bur.
I mixed pieces of copper, brass and nickel and joined them with 16 gauge copper jump rings.
While I liked how everything was coming together, I thought it looked too clean and bright.
Out came my old can of liver of sulfur.
After soaking in  a warm solution of liver of sulfur and a selective cleaning with a foam sanding block....
now it's done.

Saturday, June 8, 2013

New Inventory

Some of my more recent etching efforts.....
 
etched, square brass bangles (with a few chisel textured bangles included)
 
etched silver nickel squares with wire wrapped stick pearls
 
will be included in the new inventory that I'm delivering to Woodmere Art Museum next week.
 
It's always nice to get a phone call telling me that inventory is running low and could I please deliver some more!

Monday, June 3, 2013

New Leaf Necklace

Some of the fold formed leaves that I recently made
 
have found a new purpose...

I chose to do a variation of an earlier necklace, making this one a tad more delicate in appearance.
The initial necklace sold quickly at the show where it debuted, but I did hear a number of comments that it was just a bit too dramatic for some of my potential customers.
I really do listen to input.
While I make what I want to make, I also want to make pieces that will sell and be worn.
Do I factor in all comments and suggestions?.....no, but I might if I think it's a good idea.
 
 
Like the initial necklace, this one also has a handmade clasp.
For some reason, making this clasp was a definite pain.
Maybe it was just too hot in my studio, but it took me 4 attempts to get the right curve to the hook portion of the clasp.
When things start to go awry with wire wrapping, I find that the only thing to do is cut off the offending piece and start fresh with a new piece of wire.
I gave myself a stern talking to when beginning my 4th attempt and was happy that I did not need to start a 5th.
Yes, in spite of all the wire wrapping I do, I can still flub things up.